As we grind into week 6 or so of the stay-at-home order, I realized that I haven’t shared nearly as much as I said I would. Anyone with kids probably understands that the days right now are filled with trying to keep everyone busy, on track with school, fed, and not spending too much time on screens (none of which is accomplished perfectly). Like everyone else, I’m missing friends, and like nearly everyone else, I’ve been doing my share of baking. One of the things that has brought me a lot of joy these last few weeks is making challah on Fridays. It’s such a sweet way of ending the week and ushering in the weekend. I even ordered some aluminum pans so I could bake extra and deliver to family and neighbors as a socially distant hug.
A few people have asked me about my challah recipe, and so I thought I would share it here. I have tweaked it a bit over the years, but it is a super simple version of challah, and does not require any special equipment. In fact, I find that challah requires minimal kneading. The most important thing for people new to bread baking to keep in mind is that you handle dough mostly with your lower palm, NOT your fingers. I sometimes see new bakers sticking their fingers straight into the dough, and that will only lead to a sticky mess. Hopefully the pictures will help explain.
Challah
- 1 tbsp dry yeast (instant or regular- regular requires putting in warm water for 5 minutes before adding the rest of the ingredients)
- 1/3 cup sugar
- 1/3 cup canola, light olive, or other neutral oil
- 2 eggs, plus one extra for glazing if desired
- 2 tsp kosher salt (1.5 of finer salt)
- 3/4 cup lukewarm water
- 1 tbsp honey
- all-purpose unbleached flour
- poppy or sesame seeds (optional)
Begin by adding the yeast and honey to the water, (wait 5 minutes if you’re using regular yeast, not instant) then add sugar, oil, eggs, and salt.
Next, stir vigorously with 2 cups of flour. Slowly add more flour until the mixture begins pulling away from the sides and coming into a ball. I do not give quantities because it’s more about texture than amount. You want a dough that begins to hold together and is not completely gooey but not too dry either.
At this point, sprinkle flour more lightly on the surface of the ball, and begin kneading by sliding your hand, fingers together, under the ball, pulling up, and then pressing down with the base of your hand.
Keep putting a minimum amount of flour on the surface of the ball to keep the kneading going without too much sticking, until the dough begins to get less sticky. Once you’ve achieved a fairly smooth ball that isn’t overly sticky, you’re done. Oil the surface slightly and cover with plastic wrap. If it’s hot and humid outside, place outside. Otherwise, a warm spot will do. Let rise until about doubled, which can take anywhere from 1.5 hours to 4, depending on the warmth.
Using a bit of flour for dusting, pull out the dough and form a ball. Grease or spray with nonstick spray a large cookie sheet. Divide the dough into three even chunks and form each chunk into a snake, about 1.5 inches in width. Next, place on the sheet and braid the three strands, pressing the ends together. Cover with plastic wrap and set aside for about 45 minutes or until puffy again.
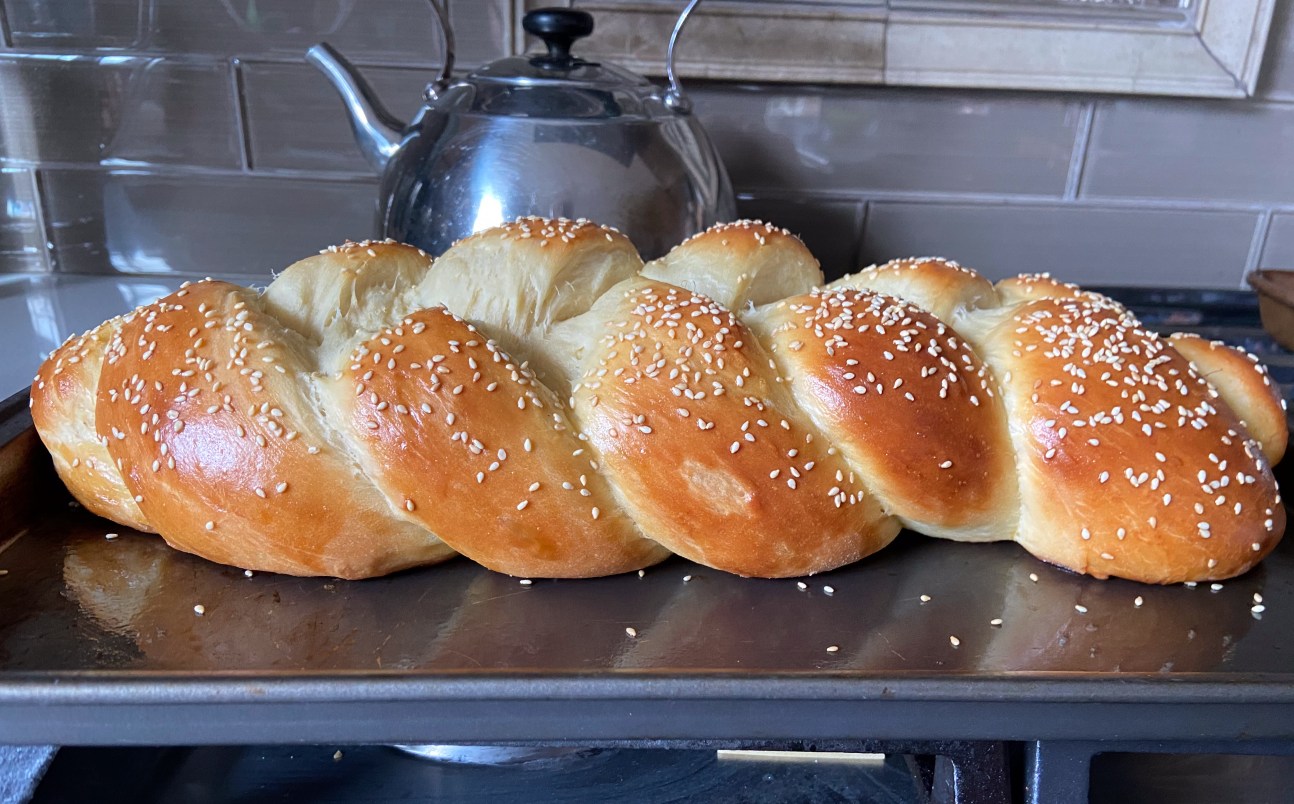
Preheat the oven to 375. Brush the challah with beaten egg for a shiny glaze, and sprinkle with sesame seeds or poppy if desired.
Place in the oven and bake until very golden, about 30 minutes. Remove and cool on a cooling rack or somewhere the air can circulate underneath. Enjoy!