

I recently came across a charming book that I believe dates back to my mother’s preschool teaching years, in the early 1970s. It’s a book plucked straight out of the “Free to be” generation, called Kids are Natural Cooks, by the Parents’ Nursery School. It’s a book of recipes and ideas for how children can explore the process of food preparation and enjoy the full range of sensory, scientific, and pragmatic experiences that it has to offer. The book encourages us to think of cooking in terms of all the “projects” we can share with kids.
One idea that I especially liked in the book was to sprout beans that you take directly from your pantry. What happens if you take (whole) lentils, mung beans, or other dried peas or beans, and put them in the right conditions? They will sprout! It’s like a mini farm experiment. Such a cool way to see growth in action and to bring home the idea that our food is alive!
Sprouted Lentils
All you need to do is get about 1/4 cup of lentils and soak them in water overnight. The next day, drain off the water and rinse the beans, then place them in an empty jelly or pickle jar. If you have cheesecloth, that works well to put under the lid so that you can rinse and drain them later, but I didn’t have any and managed ok. Place the jar on its side to give the lentils more room, and put in a dark place. Twice a day, rinse the lentils and gently drain the water off through the cheesecloth or with a slotted spoon. Within a day or so, you will start to see sprouts. Another couple days and your lentils will have cute little tails.
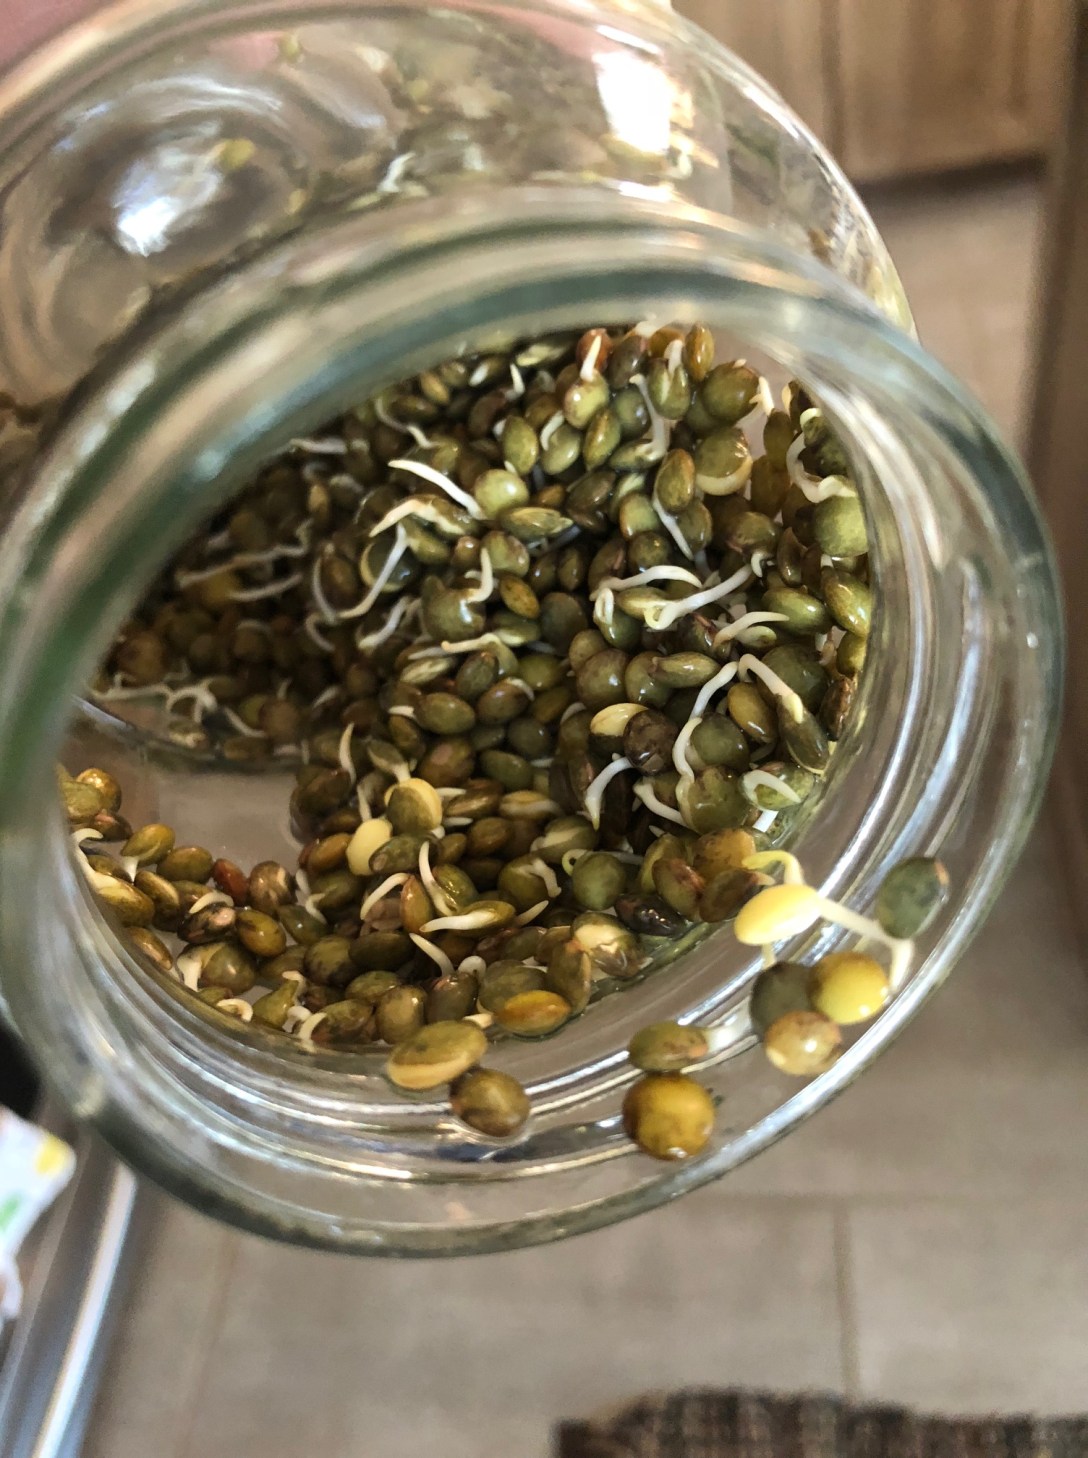
And who knows, maybe the kids will be inspired to taste the little baby plants and appreciate their green, crunchy flavor. My only hesitation there is that the conditions necessary to make beans sprout are the very same that make bacteria happy, so I cooked mine briefly before eating. Or cook them until soft like regular lentils (they will cook faster) and enjoy the increased nutritional benefits of sprouting.
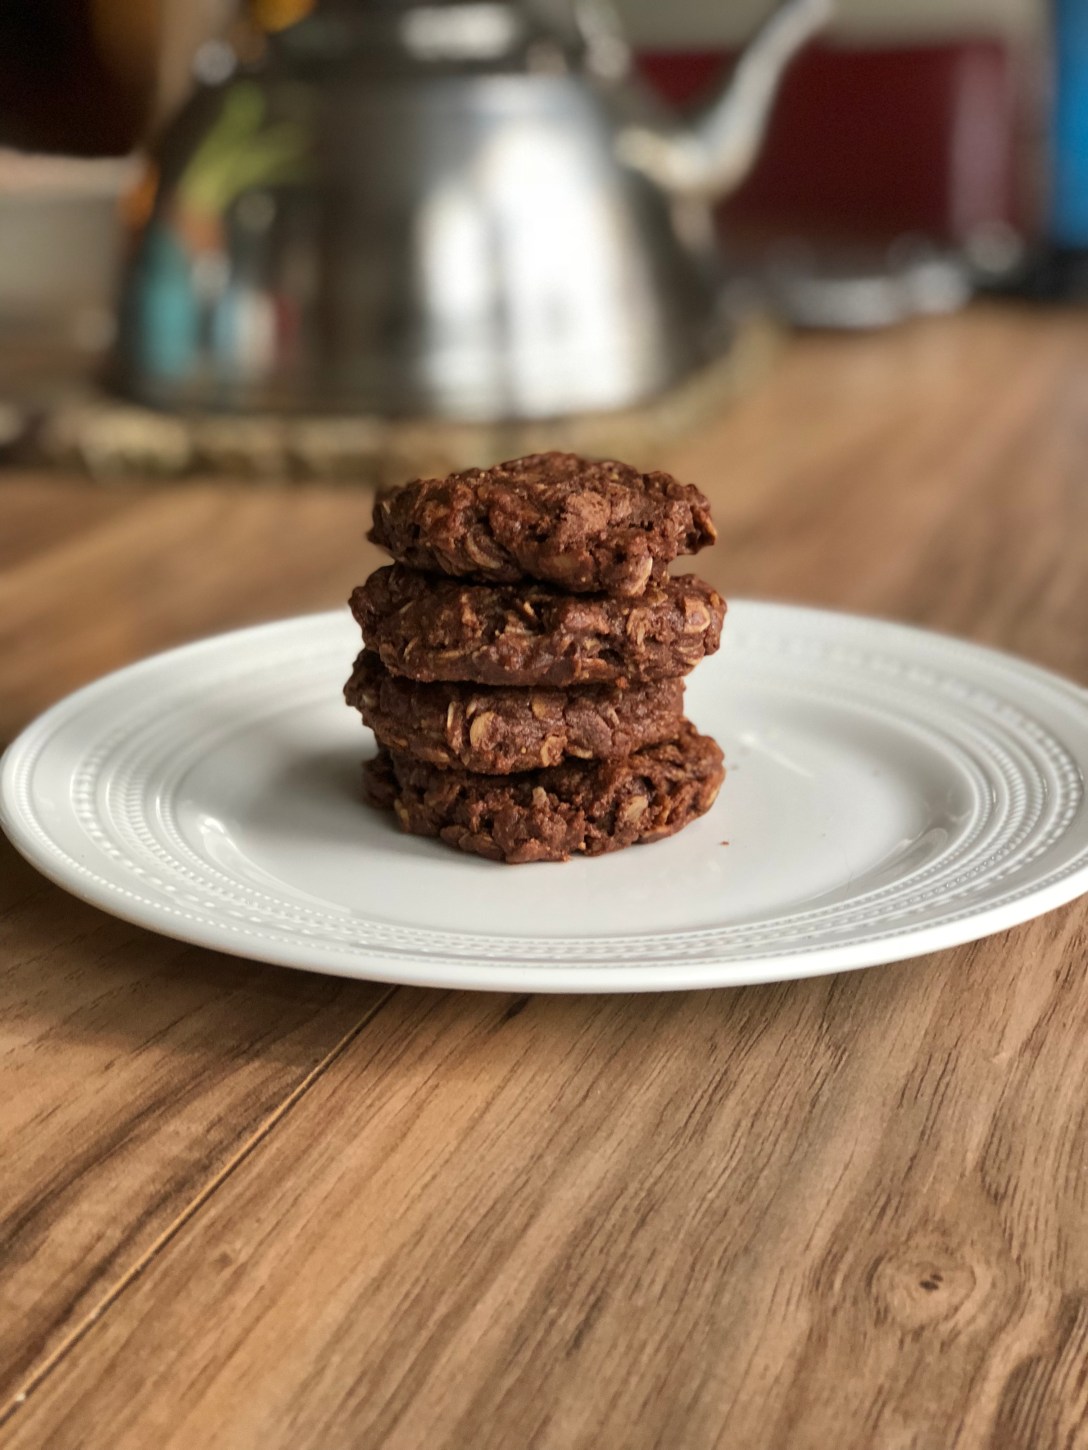
Lastly, here is a wholesome cookie recipe from the book that will make you feel like you’re wearing bell bottoms and getting your food from a hippie co-op. Plenty of oatmeal, wheat germ, and nut butter for a nutritional punch while you’re getting your sweet treat.
Two-way Cookies (They can be eaten before or after baking)
- 1 cup honey
- 1/2 cup butter
- 3 cups of oatmeal mixed with wheat germ, or just oatmeal
- 3 tbsp cocoa
- 3/4 cup powdered milk
- 1/2 tsp salt
- 2 tsp vanilla
- 1/2 cup peanut butter
- 1/2 cup raisins (optional)
Melt the butter in a saucepan and add the oatmeal, turning it until it begins to brown a bit. Remove from heat and add the other ingredients, stirring until it’s all blended. Pro tip: If you sprinkle cocoa powder in the measuring cup before adding the honey, the honey will magically not stick at all. When cool enough to handle, form into cookie shapes and place on a greased cookie sheet. Bake at 350 for 10-12 minutes.

For more interesting history about the spread of “Hippie Food” in the 1970s, check out Jonathan Kauffman’s new book Hippie Food: How Back-to-the-Landers, Longhairs, and Revolutionaries Changed the Way We Eat.
