
For a while now, I’ve been trying to perfect an oven-frying technique that would allow me to easily create homemade chicken or fish strips. After all, what’s a blog about children’s food without a nod to chicken nuggets? Chicken nuggets and fish sticks are a staple of the American food scene for children. And I have actually always really loved them. Even now that I am an adult, there is nothing quite as comforting as a plate of crispy chicken fingers with a couple of really yummy dipping sauces. It’s a very adaptable dish too, and a spunky new dipping sauce can give you a whole new flavor. And since my son is also a huge fan of dipping, any opportunity I have to make finger-food that he can dip increases the chances that he will take a few bites.
Certainly there is no lack of chicken and fish strips in the frozen food section or in restaurants, but I have long been trying to find a tasty way to make them from fresh ingredients. And I know I’m not alone in wanting to avoid frying at home. I hate the mess, smell, and danger of home frying, not to mention the extra fat and calories.
But I have tried many different recipes, and found most of them underwhelming. Many “fake fried” recipes call for the same process of dipping the strip in flour, then egg or low-fat buttermilk and then seasoned bread crumbs, as if you were frying. Next you simply bake them instead of frying them. I suppose this does work, but I’ve never been satisfied with the results. They say crispy, I say dry… It may look like a chicken finger, but alas it does not taste like one.
There is nothing like the bitter disappointment of thinking you are biting into something delicious and then finding that it is a mere impostor. So I set out to answer this long simmering question. HOW DO YOU MAKE THE BEST HOMEMADE CHICKEN FINGERS?
What then are the results of my experimenting? Well, get ready. I’ve come up with two secret ingredients that really make for a tasty baked chicken or fish strip, and they are…mayonnaise and Ritz-style crackers.
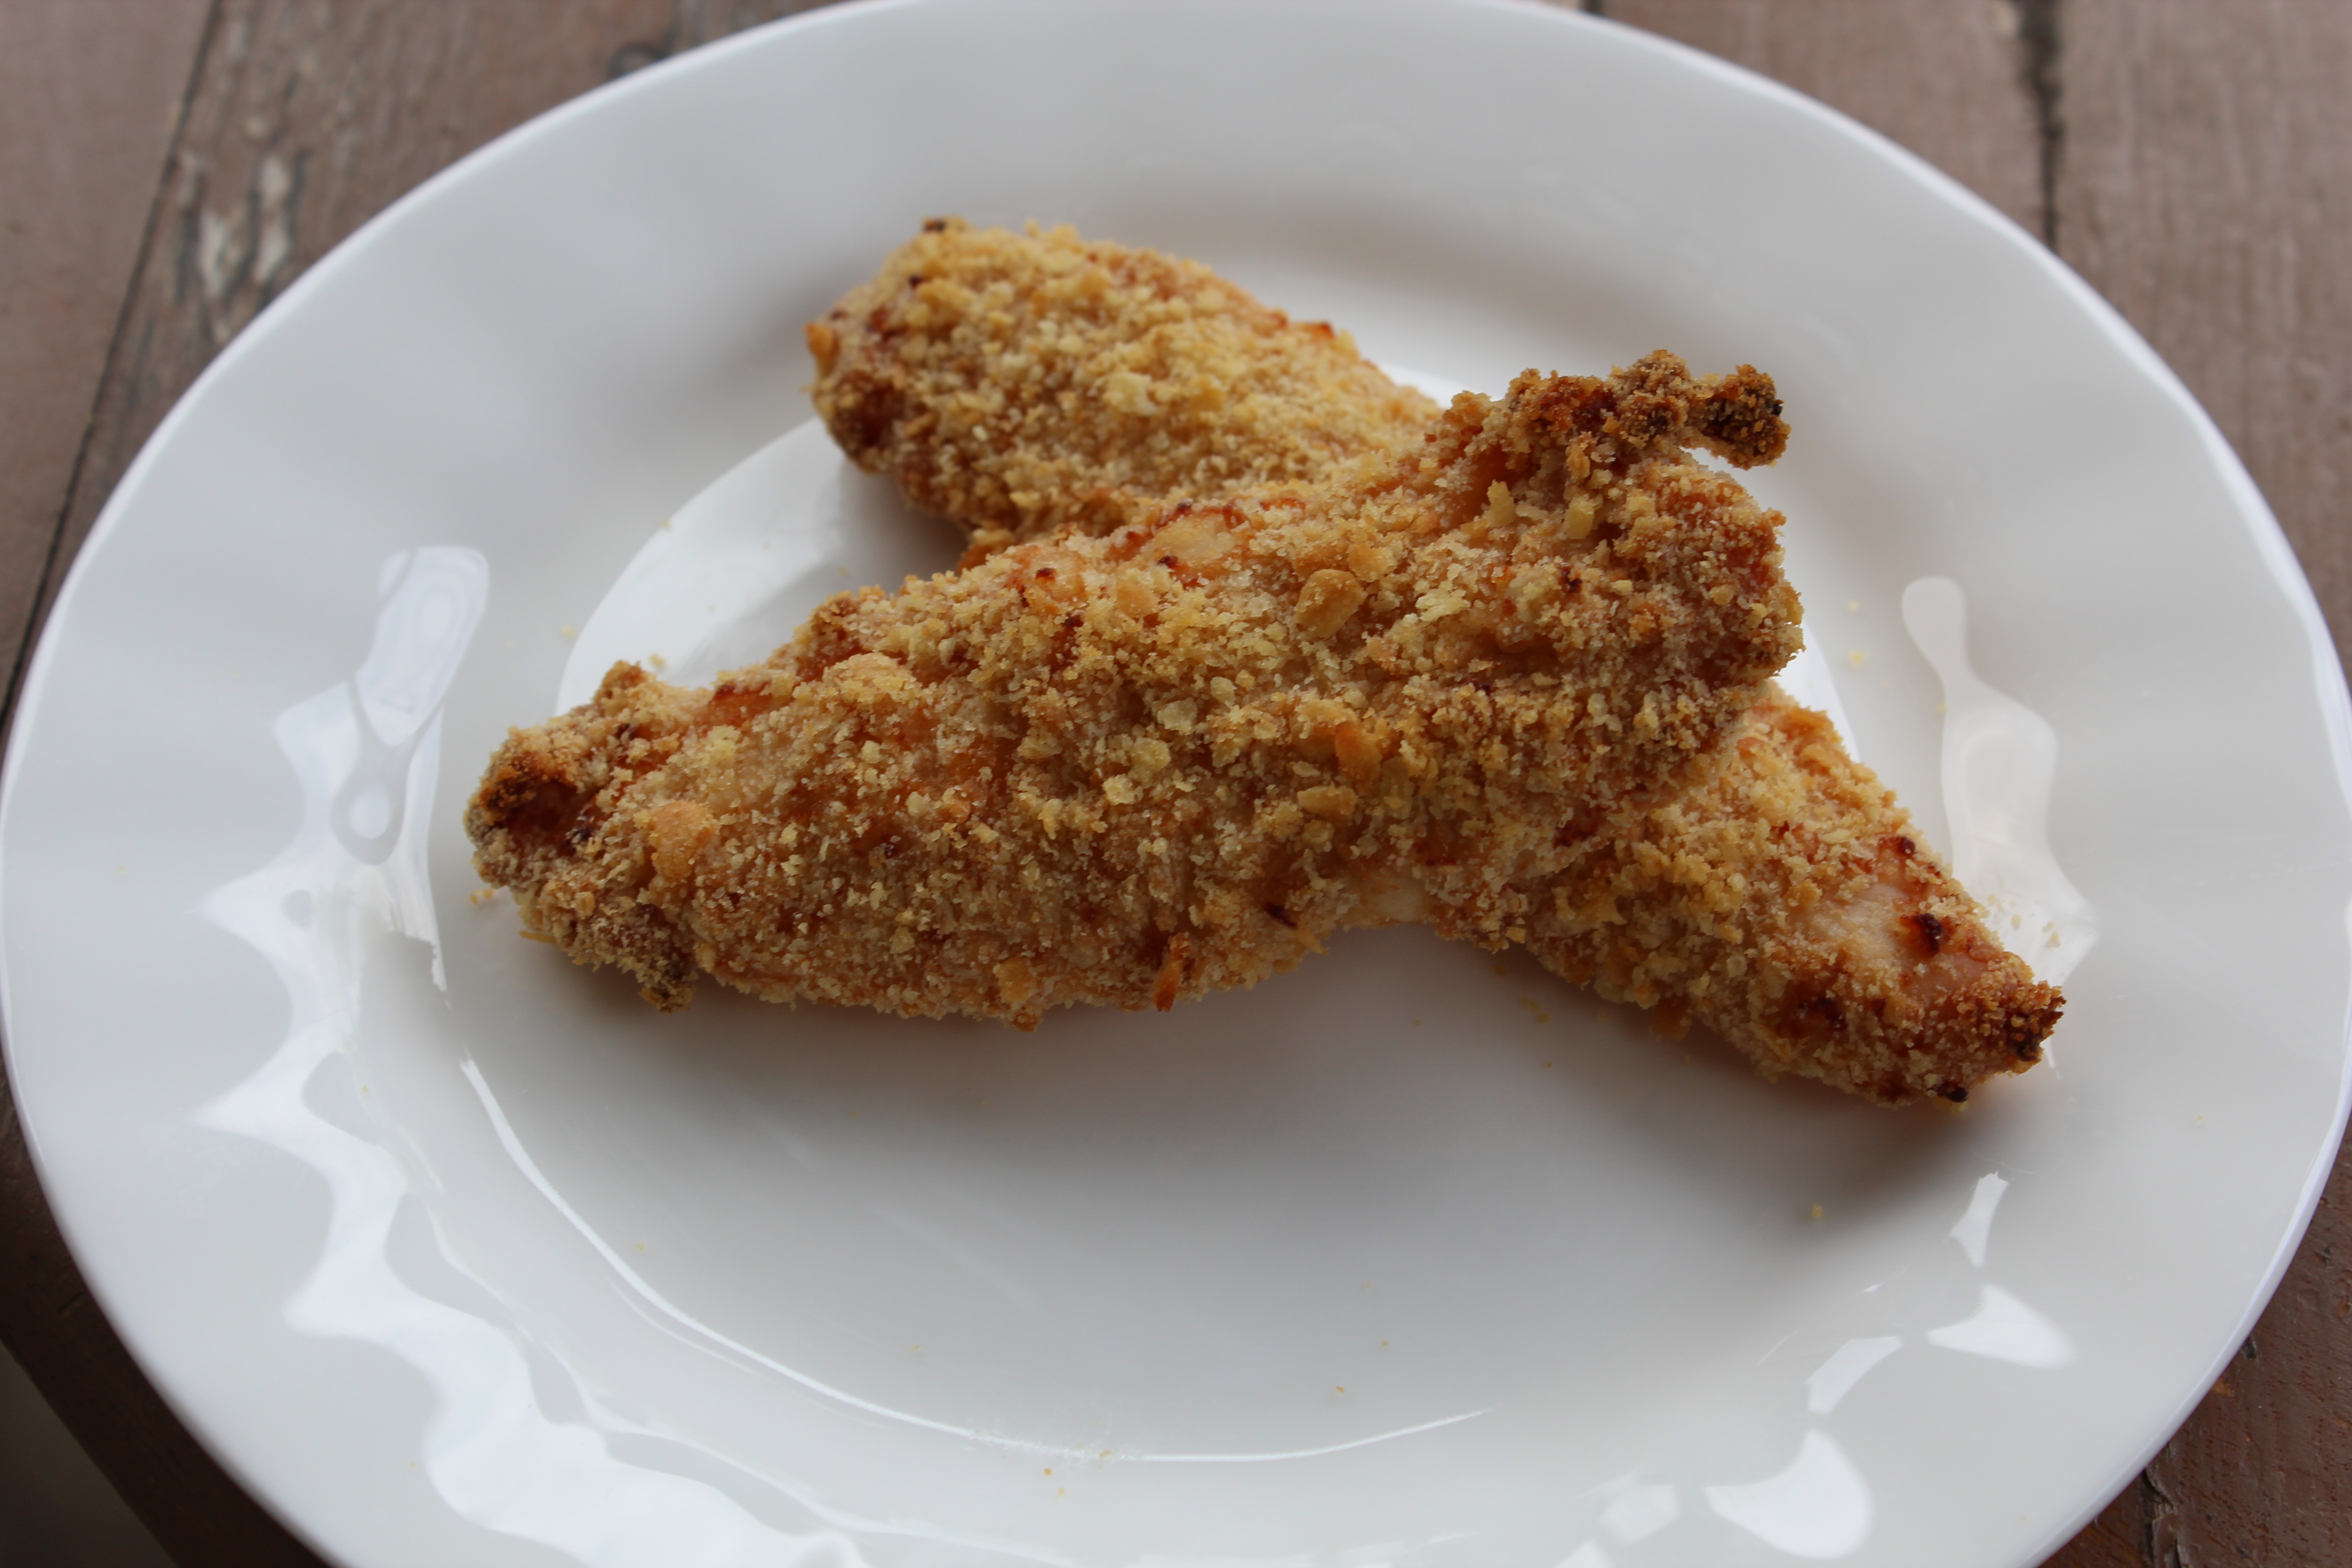
The mayo may seem strange, but if you think about it, it’s only emulsified egg and oil with some seasoning. You don’t taste it but It both tenderizes the chicken and provides a base for the cracker crumbs to get crunchy in. As for the crackers, unlike bread crumbs, they are buttery and flavorful, which is great since we won’t be frying them. I also spray the top of the strips with cooking spray to add an extra crunch.
My last trick is to use a metal cooling rack (the kind you put hot cookies on) on top of a cookie sheet. This helps your strips get brown all over and prevent all your breading from pulling off as you unstick your strips from the pan. No one wants that… If you don’t have one, you can easily find one at Target or the grocery store.
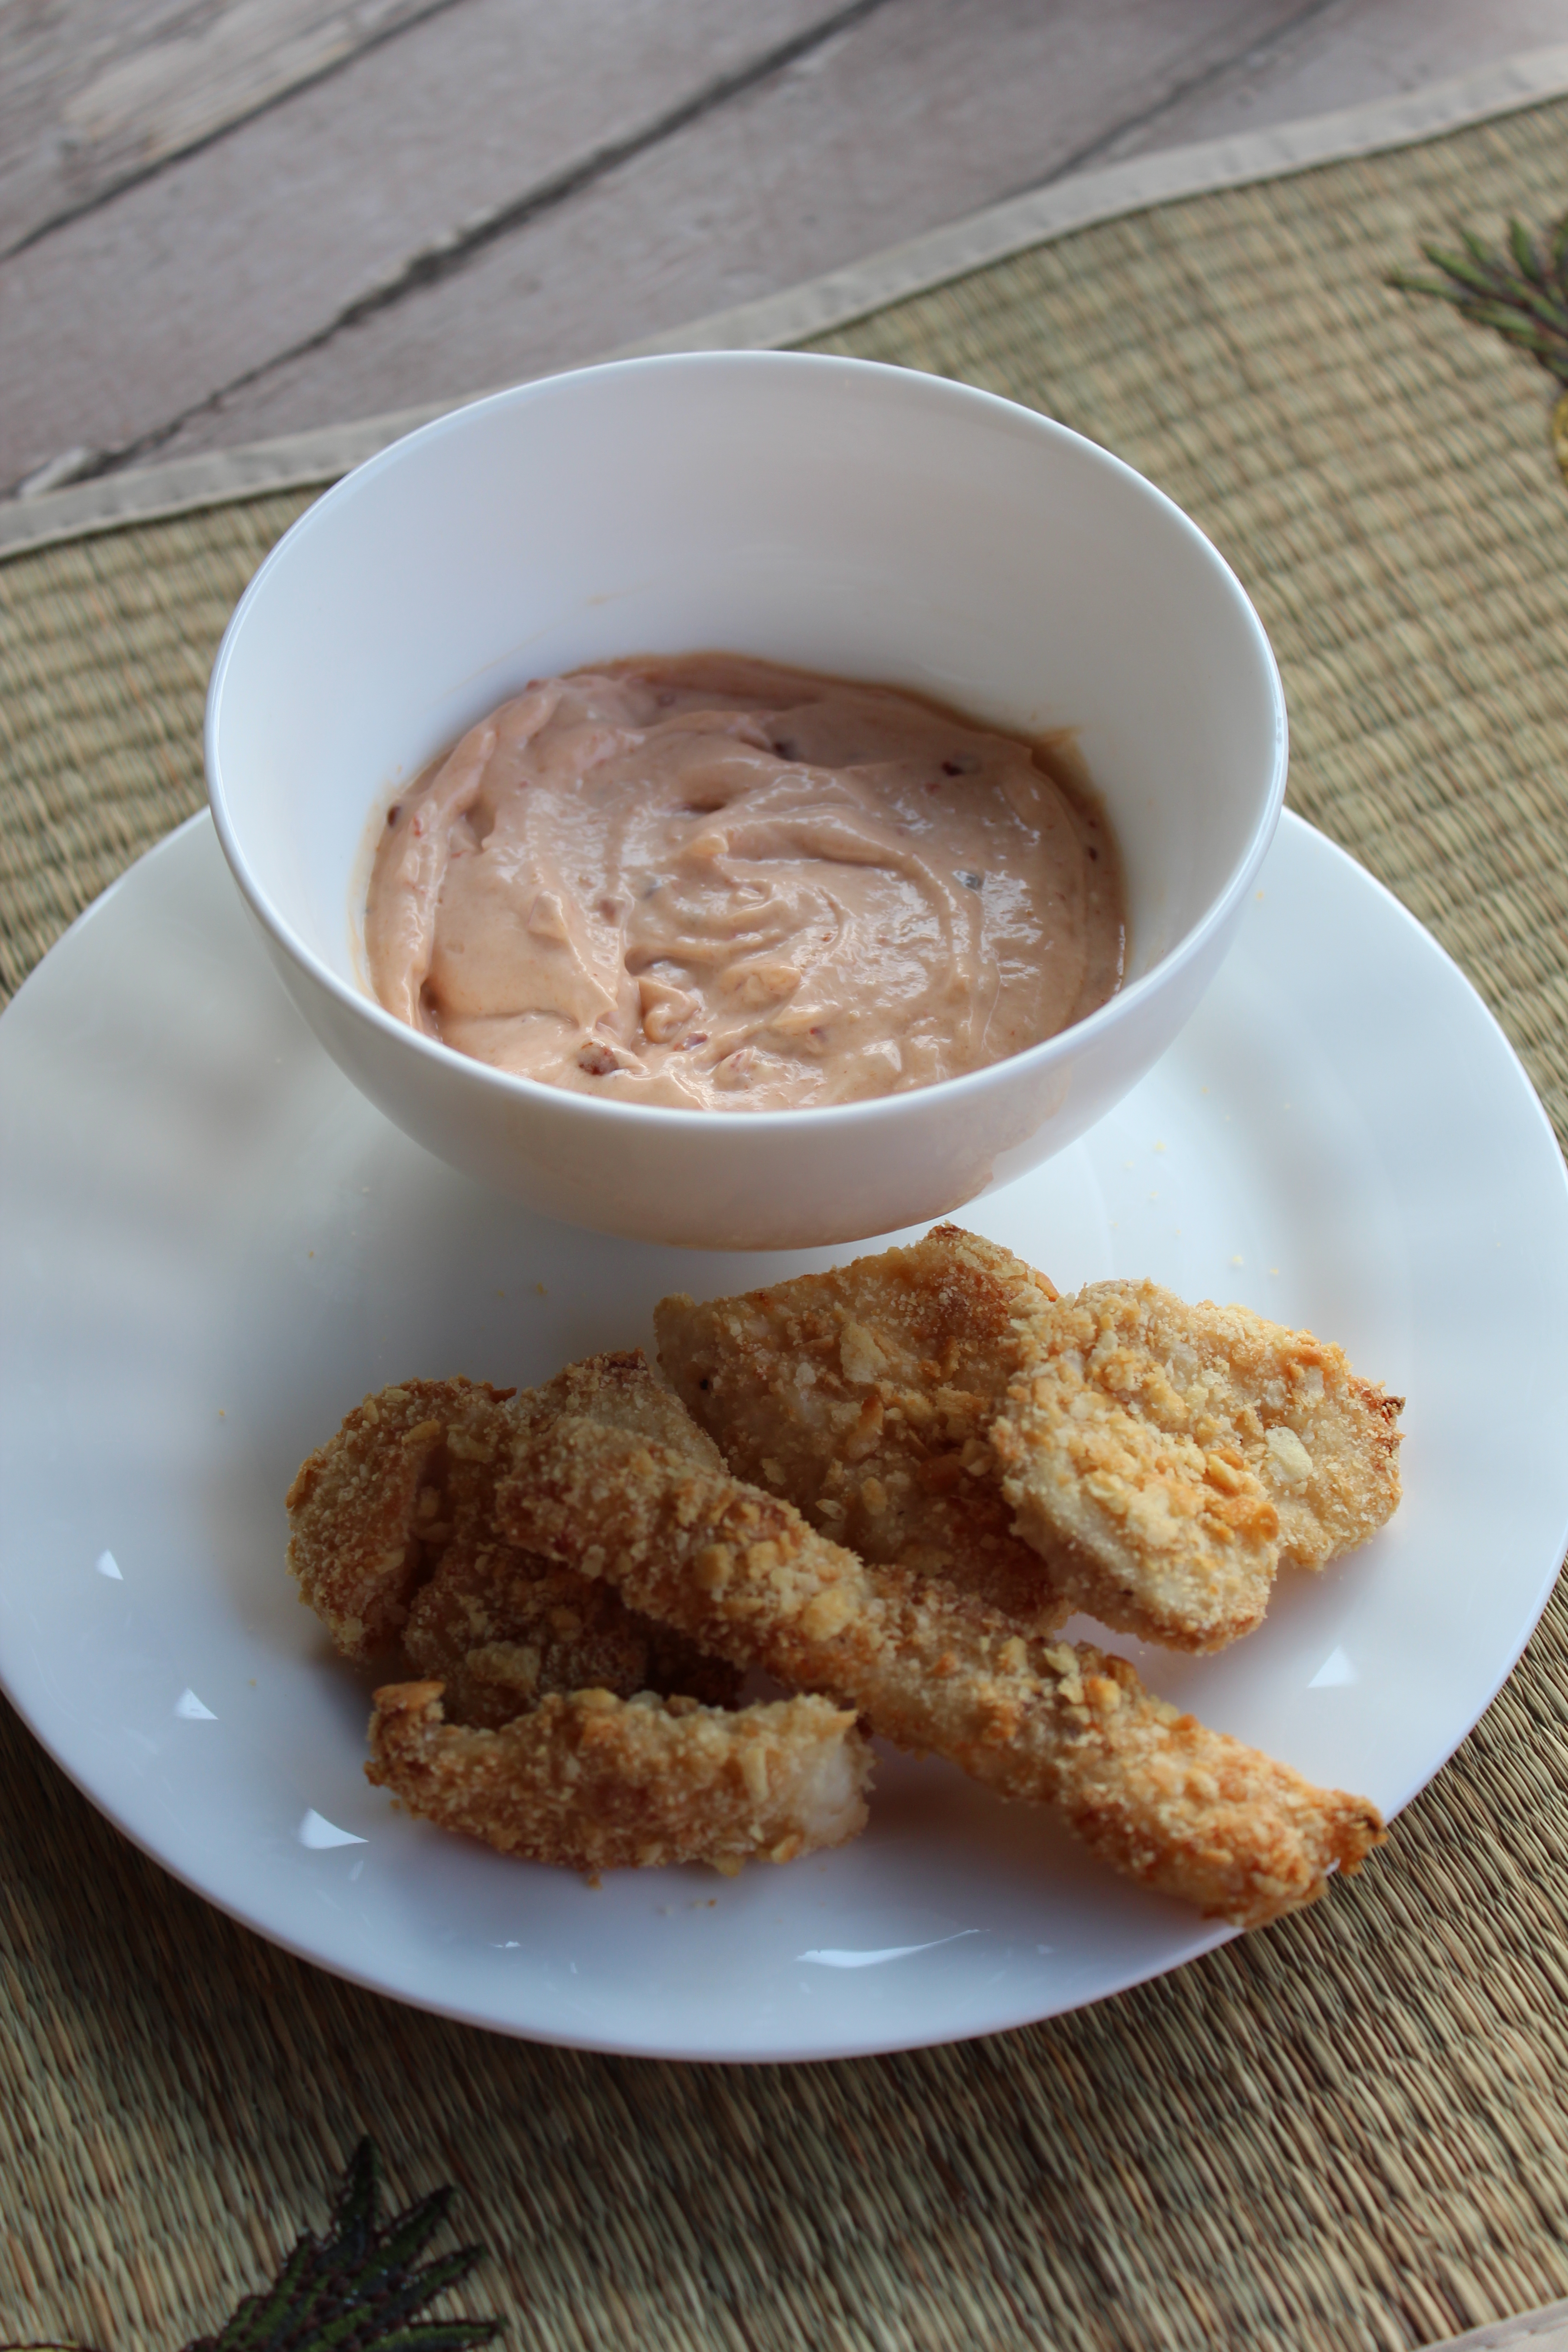
I think these really hit the spot when you want to get dipping!
Crispy Fingers
- 1 lb chicken tenders or fish strips (firm fish like cod, bass, or pollock works best)
- 1/3 cup mayonnaise (regular or light)
- 1-2 tbsp milk or water (just enough to loosen the mayo)
- 1/2 tsp all-purpose seasoning (I love Adobo)
- 8 oz. any buttery-style plain crackers
- Cooking spray
If necessary, cut the meat into finger-sized pieces. Keep in mind that you don’t want the pieces to get dried out before the crust is brown, so avoid cutting nuggets too small. Mix the milk, mayonnaise, and seasoning in a bowl. Place the tenders in a large zip bag and pour the mixture over it. Seal the bag and massage gently with your hands. Put the bag into the refrigerator until ready to use.
In the meantime, crush the crackers either in a food processor or in a zip bag with a rolling pin or can of beans. (Tip: If you plan to make the recipe again, crush the whole package of crackers while you’re at it and store in a ziplock bag for future use.) Place half of them in a shallow dish, reserving the other half.
Pre-heat the oven to 425. Line a cookie sheet with aluminum foil and top with a metal cooling rack. Spray with cooking spray.
Remove the strips from the mayonnaise with a fork and place on the crumbs. Sprinkle the other half of the crumbs over the strips and toss to make sure they are coated, pressing the crumbs into the strips. Transfer the strips to the rack. Sprinkle lightly with seasoning and spray the top of the strips with cooking spray. Bake until golden brown, around 20 minutes.
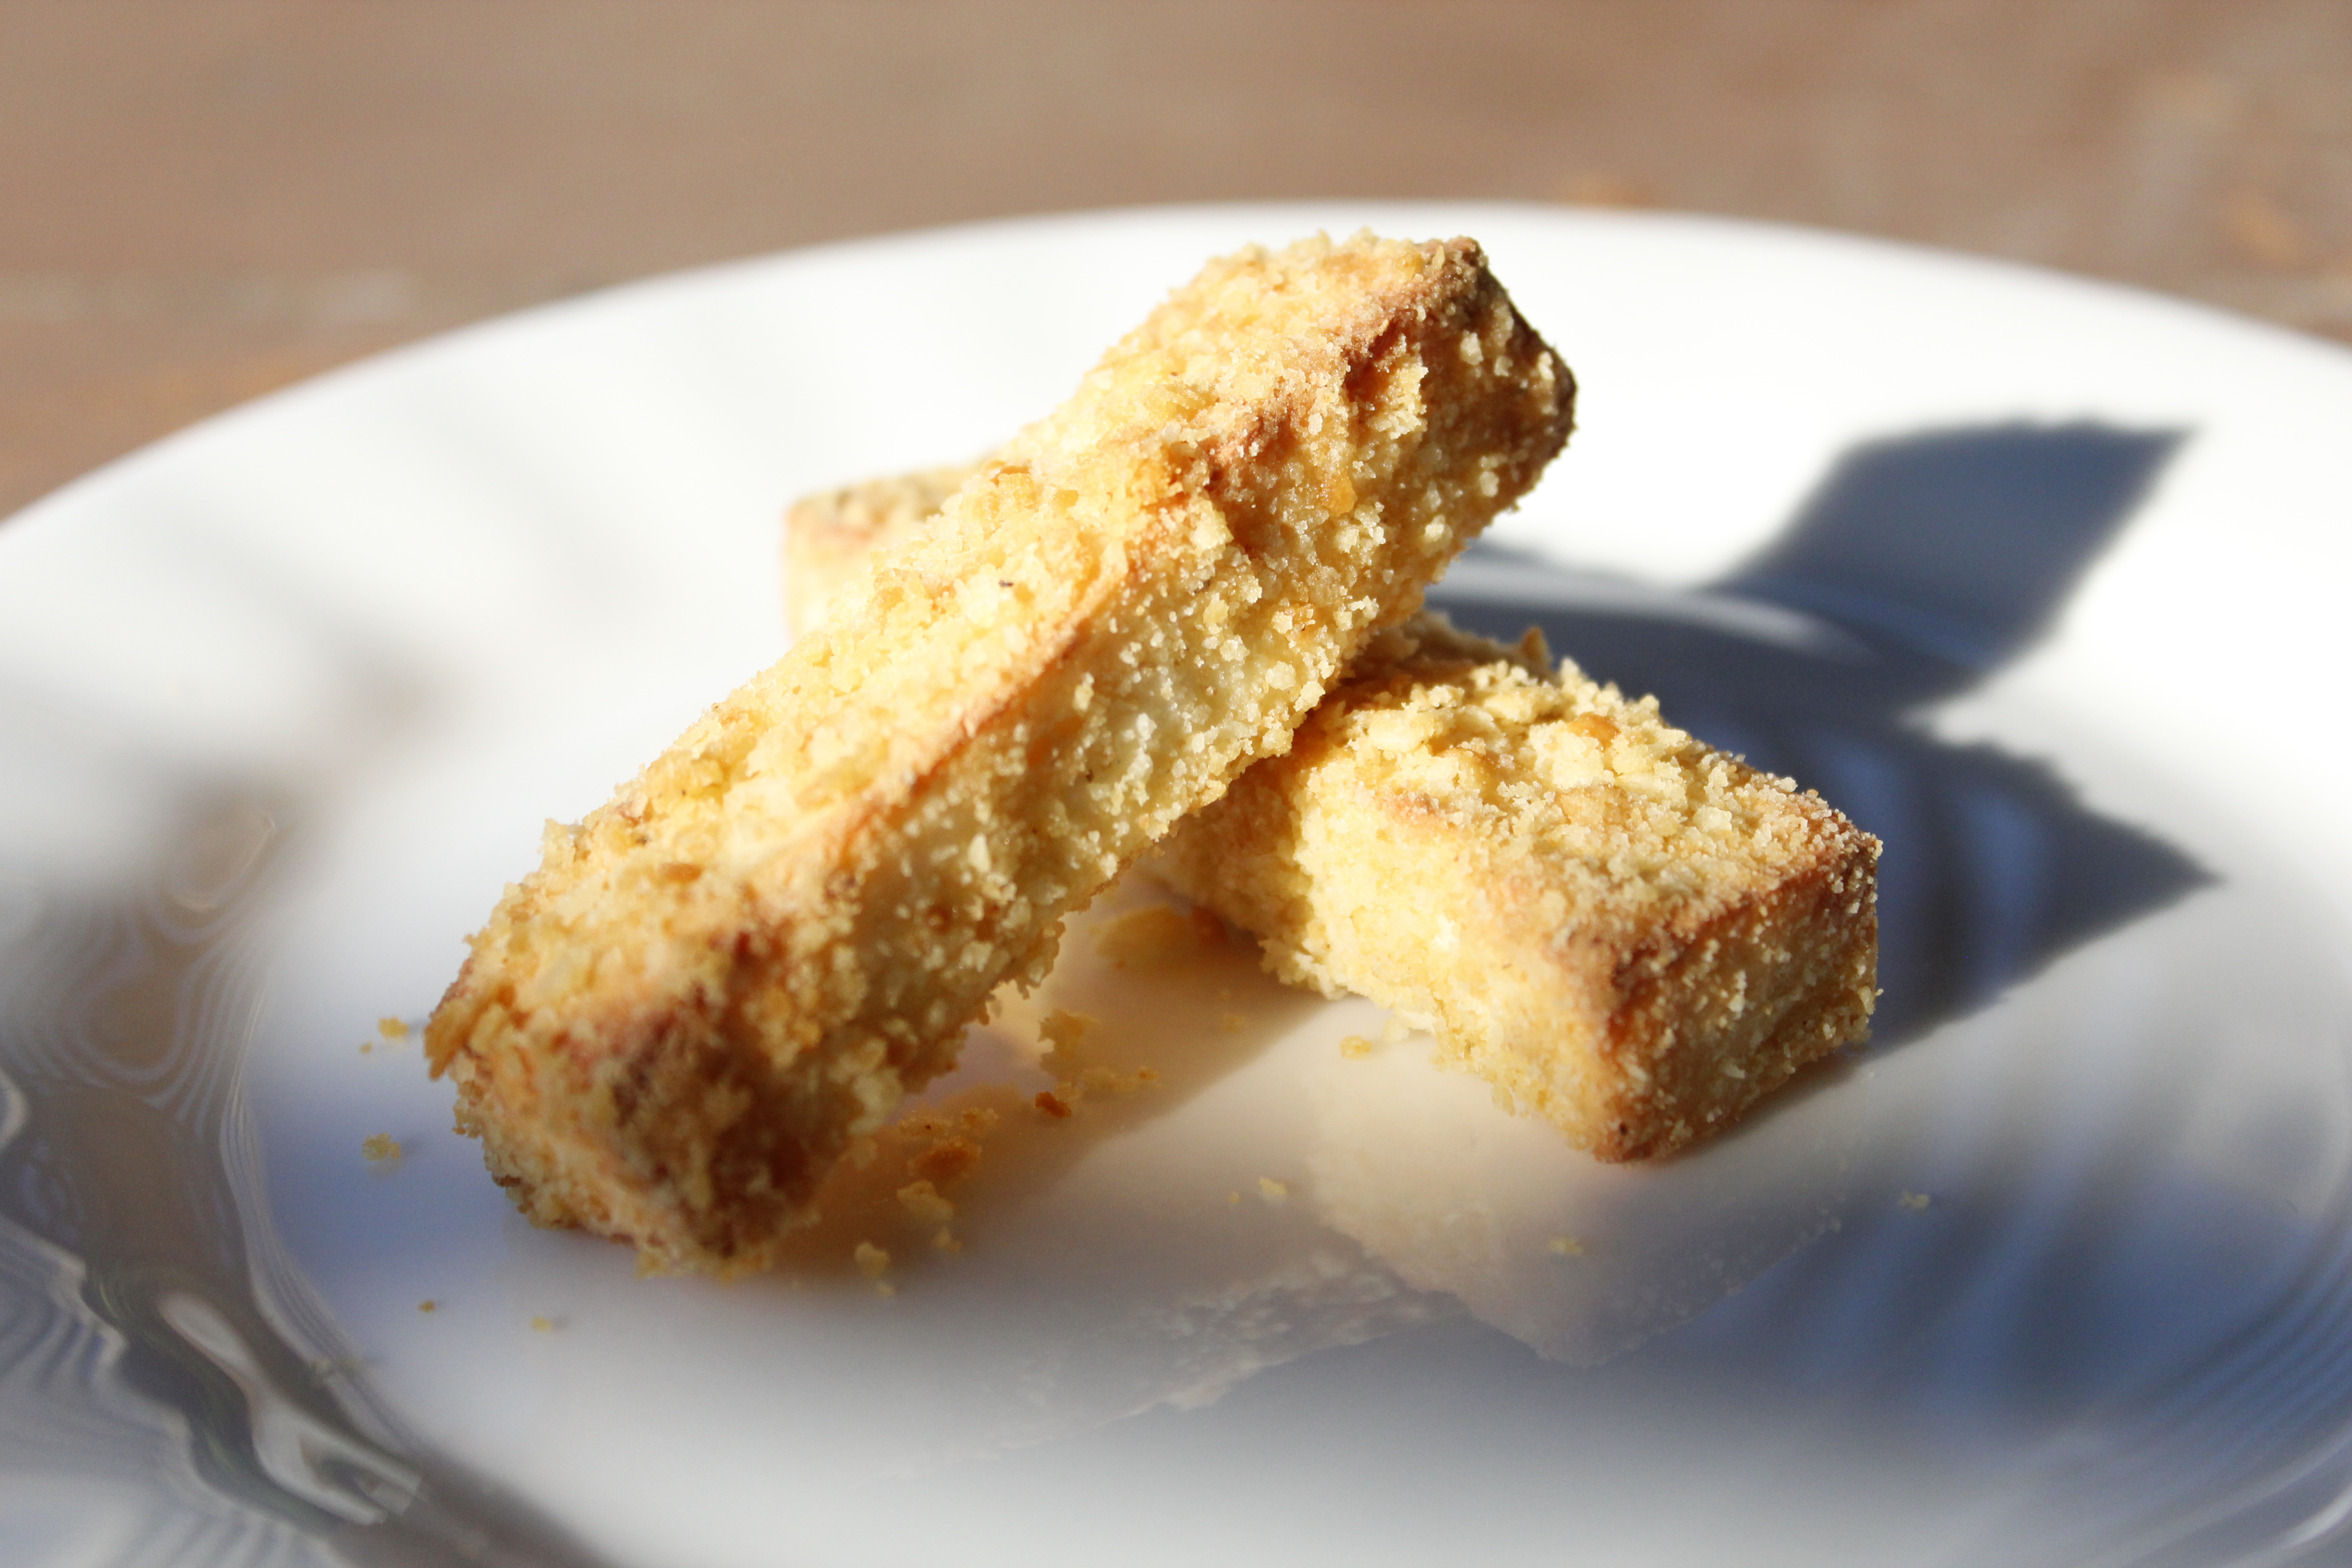
Lastly, if you’re looking to make a vegetarian version, I have a few suggestions. As your primary substitute, consider one of the following: firm tofu; the Indian dry cheese called Paneer, which resembles tofu more than cheese; or another non-melting cheese such as halloumi or queso blanco. Just be sure to adjust the amount of salt based on what you are using. Halloumi is very salty whereas tofu needs extra seasoning. Paneer is sometimes salted and sometimes not.
When I tested a couple of these versions, I found that they worked just fine, but were a little more reminiscent of mozzarella sticks than chicken fingers- certainly not a bad thing in my book! The non-melting cheeses allow you to bake the sticks without them melting all over. The smooth surface of the paneer requires a little extra pressing to get the crumbs to stick, but they came out beautifully. Served with tomato sauce, these would be great as an appetizer for a party. Here are my paneer fingers:
Whether you choose chicken, fish, tofu, or cheese serve your strips with a nice dipping sauce. Good options include:
- Barbecue sauce
- Honey mustard (Dijon mustard mixed with sour cream and a dollop of honey makes a great, mild sauce for kids)
- Tartar sauce
- Tomato sauce for tofu or cheese fingers
- Or try this Spicy Mayo: Combine 1/3 c mayo, 1/3 cup plain yogurt, 1 tsp mustard, 1 tsp soy, 1 tbsp ketchup, 1/2 tsp Sriracha (optional), 1 clove garlic, 1 tsp red wine vinegar, 1/2 tsp honey.
